Staying Warm
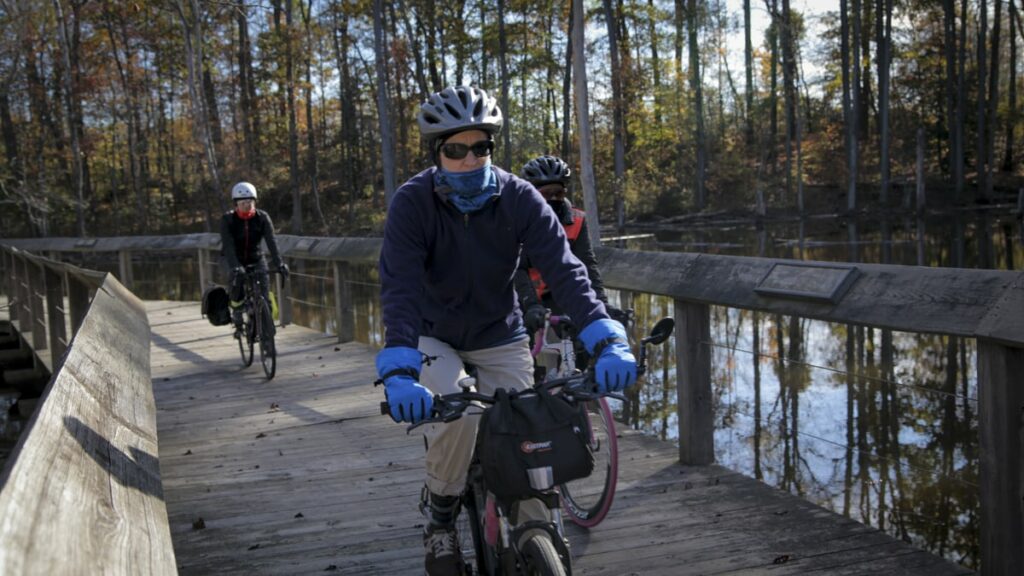
Your body generates a lot of heat when you’re biking, so it’s easier than you might think to stay warm riding in the wintertime. (At least here in the DC region. If you’re in Minnesota, you may need to take more extreme measures). Here’s a breakdown of how to dress for a winter ride:
Base Layer
This is the innermost layer you wear—while it is insulation, its primary job is to pull moisture away from your body. A soft wool or a wicking synthetic fabric works best. Cotton doesn’t do a very good job keeping you warm if it gets wet from rain, snow, or sweat. Don’t forget your legs—you may want leggings, leg warmers, or long underwear.
Warm Layer
This is the layer that will keep you warm by trapping air and your body heat. Again, wool is a top performer here, and wool sweaters come in a wide variety of thickness and warmth. Puffy or fleece layers also work great. Passengers will need more warm layers than you, as you’ll be working to move the bike but they will just be sitting there in the cold breeze.
Outer Layer
The most important part for your outer layer is to block the wind, with a close second to be waterproof, to keep your warm layers dry. When you ride, you are in a constant breeze, and that can steal your heat fast. This is especially important for children as passengers. If they are in a seat on your handlebars, they will be catching the full force of the wind and need to be bundled up more than if they are on a rear seat riding behind you. Snow suits work as great outer layers for kids, and they are warm and waterproof, and can be easy to pull off when you arrive where you’re going. Another option for smaller children is to wrap them inside a blanket or use a stroller snuggle. A bungie cord can help keep these in place and out of your wheels and chain.
Head, hands, and feet
Don’t forget the rest of you! A balaclava is a great option for a child to wear over their head and neck, but under their helmet. A scarf can we wrapped around your neck, face, and ears and held in place with the helmet straps. Waterproof (and therefore windproof) boots also work well with thick socks on inside of them, or even rain boots pulled on over the top of regular shoes. Thicker hiking socks work great for winter riding. Windproof gloves are key, and as it gets colder or the rides get longer, then lobster gloves or mittens become more important to keep your hands warm. Hand warmer pouches can also help if your fingers and toes are prone to getting numb in the cold. Make sure that your gloves are not so bulky that you can’t use your brakes!
Know your body and plan to heat up a bit.
Unless you just started cycling, you probably know how quickly you can heat up while on your bike. Learn how to adjust your layers to make sure that you stay warm and stay cool. In fact, one of the biggest mistakes people make when they start winter riding is actually overheating!
A good rule of thumb is that you should be a little cold when you first hop on your bike.
That way, as you ride, you will work your way up to a comfortable temperature that you can maintain for the entire duration of your trip. If you’re already toasty warm when you start pedaling, you’ll be way too hot in ten minutes or so (and sweating your base layer wet). This can take some trial and error to get right, so go slow and maybe do a few test rides with different combinations of clothing.
Winter gear for your bike
- A good set of fenders can help keep moisture off of you and your clothes.
- Bar Mitts are big, usually waterproof mittens that attach to your handlebars. They let you wear lighter gloves that make it easier to use your brake levers and shifters.
- If you’re locking your bike up outside, try a saddle cover (a shower cap or plastic bag works too) to keep the rain and snow off your saddle, so when it’s dry when you hop on.

Riding Safely in Winter
Riding in the dark
The law in DC, MD and VA says a front white light and either a red rear light or red rear reflector are required. But that’s only the bare minimum you can do to make sure you are visible out there:
- Reflective clothing – These days, you can find reflective material on all sorts of gear, from gloves to shoes to jackets to pants. Even if you don’t want to go the full reflective vest route, a few points of reflectiveness on your arms and legs (your moving parts) will make a big difference in how quickly drivers can spot you. Don’t look now, but WABA sells a fantastic reflective pant cuff!
- Light it up. Cars can only avoid you if they can see you, and driver visibility is reduced in rain, snow, sleet and fog. Extra lights and attached to moving parts of your bike or body will attract more attention than solid lights.
- Ride visibly. When you control the lane, you make sure that you are in the most visible place on the roadway. Remember, visibility is your top priority!
- Know your routes. Specifically, get to know which roads have good ambient light available and which do not. Ride smart and err on the side of caution–just because you can see them does not mean that they can see you!
Riding on snow and ice
This is the tricky part where a lot of three-season riders simply might say “you’d have to be crazy to get on a bike with that stuff all over the road.” But we’ll be riding in it and we think you should too. There’s nothing like the feeling of riding through lightly falling snow, with only the crunch of your tires and the rush of the wind in your ears. But first, here’s what to expect:
- Take it slow. Give yourself extra time to contend with the various challenges of winter weather riding.
- Pedal smoothly. Try to maintain a steady pace, but you don’t want to go too fast if conditions are bad. Watch out for the rear tire slipping when you start from a standing stop.
- Brake OR turn, NOT both. Start braking early and shed a lot of speed before you start turning. When turning, try to keep pedaling smoothly and your weight centered over the bike. Keep your eyes up and focused about 100 yards ahead of you, along the line you will take when you finish the turn. This will help you keep both your body and the bike where you want them.
- Feather your brakes. Wet, cold rubber is not as effective at stopping you than dry, warm rubber. Tap your brakes lightly before you need them to dry them off slightly.
- Not all snow is created equal. Dry powder is easy to ride through, but can cake on your rims, brake pads, etc. Wet snow is hard work to ride through, but if you’re heavy enough, you can cut right down to the pavement. Ice can be hard to spot, unpredictable and may be best avoided if you can. Packed snow behaves like ice when it’s cold out and like a combination of ice and wet snow when it’s warm. You will learn to recognize these types and the gradations between them pretty quickly.
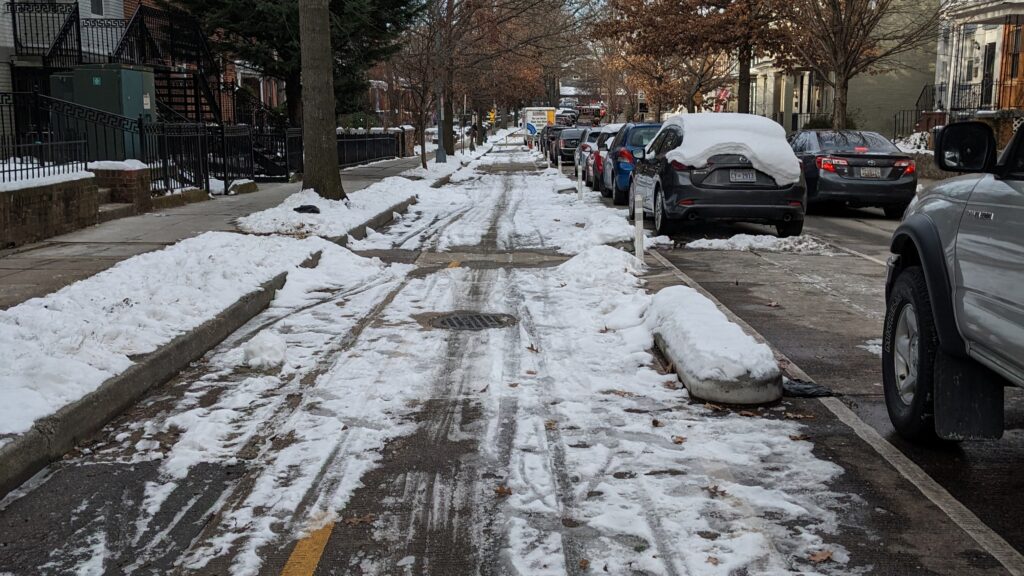
- Caution, roadway narrows. Local governments have gotten better about clearing snow from bike lanes, but don’t expect lanes or trails to be fully clear in the first day after a snowstorm, so be sure you’re comfortable taking the lane. Oddly, drivers are often more respectful of cyclists in the winter.
- Not everyone knows what they’re doing. Don’t expect drivers to be experienced at winter driving. Do your best to be predictable so drivers don’t have to react to you. Follow the laws and communicate with them through hand gestures and eye contact.
- Watch for metal and paint on the road. They get very slippery when wet. This means manhole covers, metal bridge surfaces, grates, metal construction plates, crosswalks, stop lines, bike lane markings, etc.
- Try lower tire pressure. Most tires have a range of acceptable tire pressure (85-95 psi, for instance). On the lower end of that range (or even below it), you will get better traction out of your tires. Just beware that your chances of a pinch flat go up when your tires are under-pressurized.
- Know your routes. This may take some experimentation, but try get a sense of what roads and trails are likely to get plowed first, which roads get a lot of sun (and therefore melt and dry faster), which ones are in the shade (and therefore icier), and which spots are prone to puddles or icy runoff.

Winter Bike Care
Be ready for extra maintenance
Winter riding puts different kinds of wear and tear on your bike. Extremely cold temperatures can make your tires, chain, brakes and any parts with bearings (hubs, headset, pedals & bottom bracket) behave differently, so keep an eye or ear open for anything abnormal. Consider a tune-up before winter really begins and again after it’s over. At the “before” tune-up, ask the bike tech for some all-weather chain lube and wet weather brake pads. Oh, and the cold will also drain the batteries in your lights faster!
Check for frozen stuff before you ride
In addition to your pre-ride ABC Quick Check (especially if you store your bike outside), check your rims or brake rotors, brake pads, brake levers, shift levers and drivetrain for ice or other frozen buildup. If moisture builds up on these parts and then freezes, it can make it much harder to pedal or stop your bike.
Practice makes perfect!
If you’re at all unsure of your winter riding skills, wait for a wintry day and head out to a parking lot and practice for a while. Get the hang of starting, stopping and turning. That way, you’ll be prepared for whatever winter throws at you.
Videos
A handy webinar from the Women & Bicycles team, with a focus on warmth and personal comfort:
And this training training with more of a focus on road condition safety from the DC Bike Ambassador team: